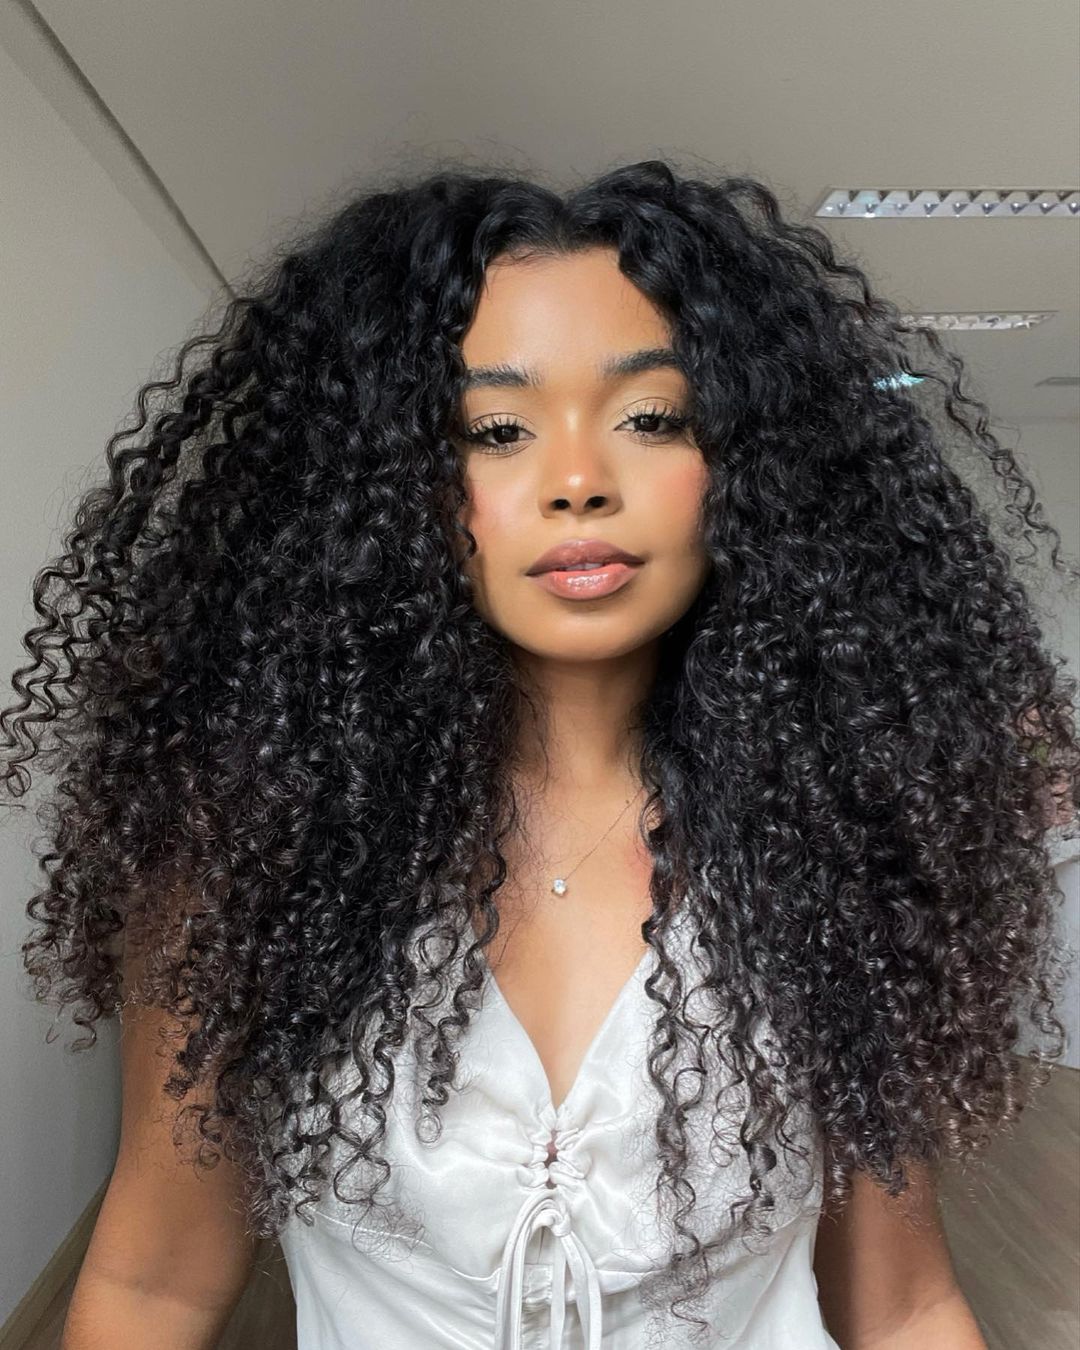
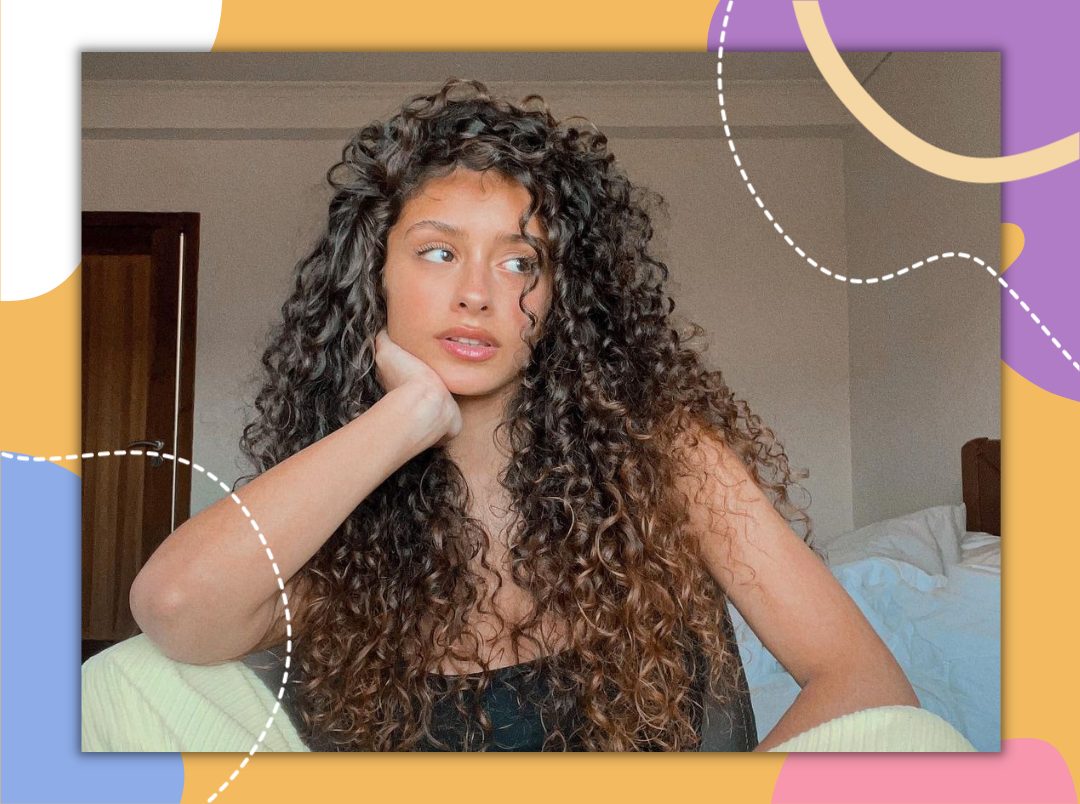
Let’s face it: when it comes to caring for curly hair, there’s no one-size-fits-all. The plethora of contradictory instructions that appear on your social media feed do not make things any better.
You can whine about your curly hair all you like but you have to agree that your curls are full of character (and frizz, but that’s not even the point). While you may wish to embrace your curls completely, we understand how difficult it is to style them. That is no longer the case! Because we’ve done our homework to let your bouncy curls, craziest waves, and springiest coils make a grand entrance with this easy ‘Skip Curl Method.’ To fine-tune your current hair care routine, all you have to do is scroll ahead and learn this trending method that’ll define your curls in no time.
What’s So Special About The ‘Skip Curl Method?’

It’s literally what it means. The skip curl method is to skip the hair around a little (a way of controlling curly, wavy, and coily hair while it’s still damp). This method allows you to define your curls and gets you off the frizz boat. Type 3 curlies benefit the most from this approach, although type 4 curlies can also utilise it to tame excessively coarse portions of their hair. Type 2s may also notice that the technique adds some spiral movement to their waves.
How Is It Done?

The skip curl method requires much time and practice, but the results are worth it. Depending on your hair type, the results can last for several days. A pro tip is to use a good styling product that will detangle your wet hair while providing slip for your curls.
Step 1: Use A Styling Product
To remove tangles, apply a style cream (or a maximum hold gel) to wet hair and finger comb it through. To begin, select a tiny part of your hair and comb it through one last time to ensure it is completely tangle-free.
Step 2: Twist ‘Em
Begin twisting the hair from root to tip around your finger. It’s crucial to twist your curls in the same direction they naturally curl; otherwise, you’ll be working “against the grain,” which can cause frizz and defeat the goal.
Step 3: Skip Rope
Slide your finger out of the twist, grab on to the end, and “skip” the hair around a bit like a jump rope. Then just let go of the curl and move on to the next stage. After you’ve done this to a few sections, squeeze them together to define your curls.
Step 4: Add Volume
When you’re finished, shake your hair upside down and sit back up. This will help to give your hair some volume. You may then simply let your hair air dry, with no need for a dryer or diffuser!
Get set for the best version of your curls yet!
Featured Image: Instagram


