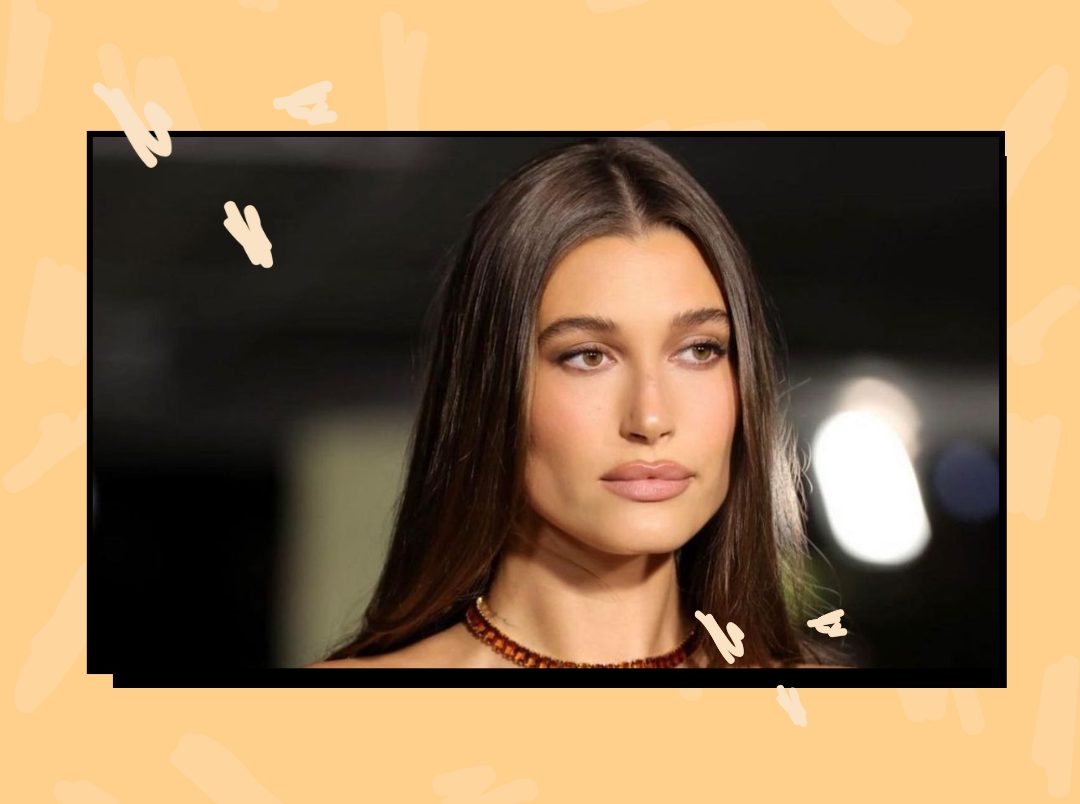
The Internet is abuzz with hundreds of techniques that involve applying blush to the skin in a certain way — many of which demand entrusting the face to certain alphabets. You emboss an ‘O’ onto the apples for fullness; slash a ‘W’ across the face to achieve a sunkissed-like flush, and trace a ‘C’ along the sides of the cheeks to dramatise — but blush isn’t the only accessory that harnesses the power of alphabets and shapes.
If you’re looking for a no-effort hack that endows your lips with a pillow-soft, lush-looking pout, you’re here just in time. Enter — oval lining. This Huda Kattan-approved hack is easy to recreate in under two minutes, and it involves drawing an ‘O’ smack-dab in the centre of the lips. Yup.
Think Of Ovallining As The Doe-Eye Trend For The Lips
The difference is — instead of drawing over the contours of the lips, you draw a line right above the Cupid’s Bow before marking the area below the centre of the lower lip similarly. Adjust the height of the line depending on the kind of pout you’re going for. The second step involves connecting the lines with an oval-ish shape spanning the middle of the lip to lift your lip upwards. Remember that the focus is the centre of the lip — ever noticed a porcelain doll’s lips?
While overlining outlines the entire shape of the lip, oval-lining is different in that it enhances the fullness of the centre of the lip to play into the illusion of a puckered-up pout. This lip-liner hack makes your lips look round, juicy, and pillowy without defining them too much like overlining does. Think of overlining as the siren-eye aesthetic and oval-lining as the doe-eye aesthetic — one is bold, and the other aims for an innocent-looking finish.
Just go over these steps with a dark lip liner — one that’s a shade or two darker than the lipstick you plan on filling in your lips with — once you’ve set the base with foundation. This step enhances the longevity of the lipstick, and it also creates a crease-free canvas for you to work with.
Colour your lips, and smack them together to blend the colours. This creates a natural-looking gradient that looks and feels seamless and subtle. If you want your lips to look juicier, try highlighting the centre of the lips — within the shape you’ve drawn — with a pinkish lipstick before going over the lips with some lip gloss. Wipe off the lines and any slip-ups with a Q-tip and you’re done.
Pucker Up, Buttercup
Note that exfoliating the lips beforehand is recommended as it eliminates cracks and bumps, and promises you a buttery-soft base. So — what’s the verdict? Is overlining still on your mind or is it gonna be ovallining?
Featured Image: Instagram


.jpg)
.jpg)


