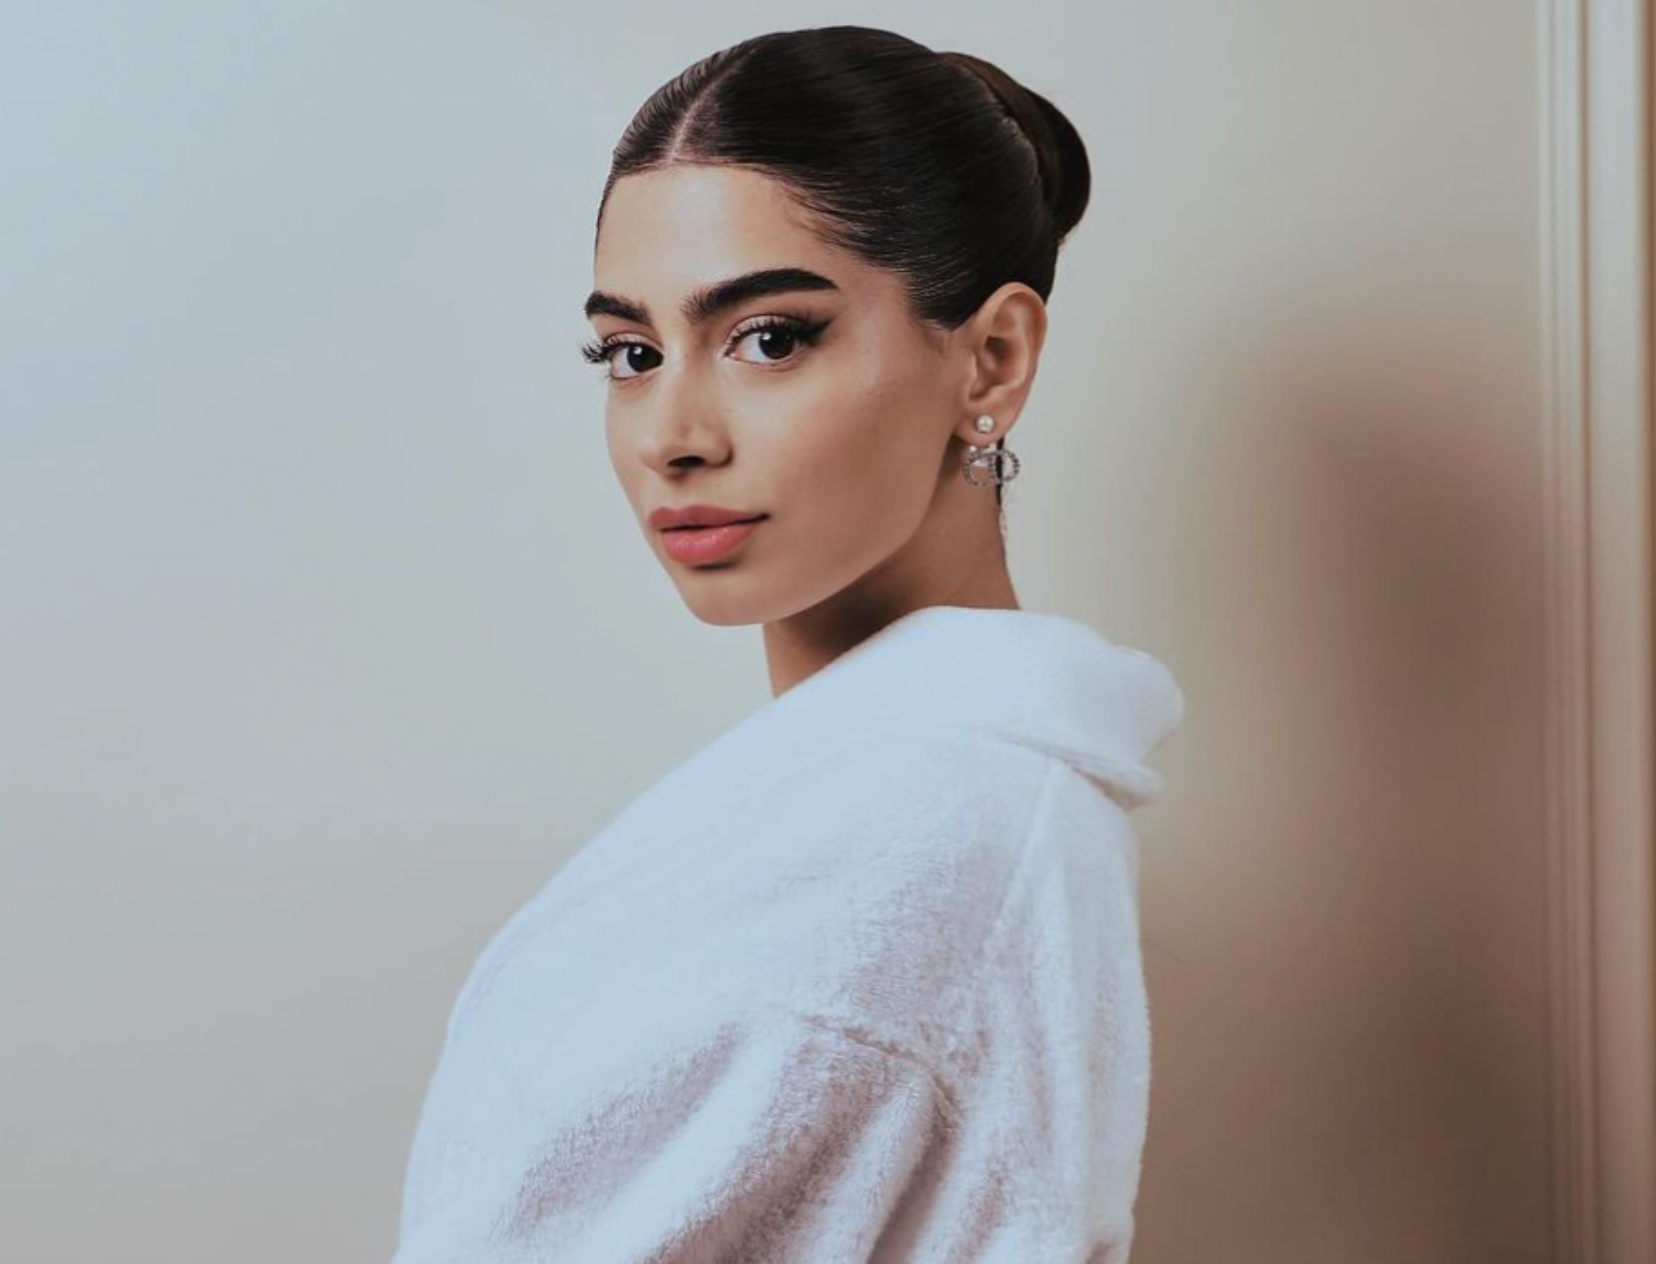
If there is one hairstyle I have learnt this year, it is the slicked-back bun. I don’t slick it back as much as Hailey Bieber taught us to but the art of creating that bun is one I have been trying to perfect for too long.
It’s the ideal hairstyle for several reasons: it requires only one clutch, it keeps your hair out of your face and stops it from getting stuck on your lip gloss. And once you’ve done it a few times you can master the look even without a mirror. It works amazingly on greasy hair and makes you look ridiculously put together, especially when you’re not feeling it.
The versatility of the style is another plus point. The bun’s omnipresence is similar to that of the Little Black Dress (but for hair). From the streets of Mumbai to the red carpet, there’ll always be one person in the periphery of your vision, wearing this hairstyle.
Khushi Kapoor donned it for the premier of her movie, The Archies – in fact, this bun seems to be her go-to look for most occasions, big or small.
The Hadids are often spotted sporting this hairstyle with their everyday fits – they keep it simple off the carpet and if it’s Bella Hadid approved, you know it works.
The epitome of the ‘IT girl’ vibe, the slicked-back bun is also one of Kim K’s go-to hairstyles for SKIMS photoshoots where looking ‘clean and put together’ is one of the cornerstones of the brand.
Vanessa Hudgens (from High School Musical) recently got married in this famed updo and we all know how immensely popular the Sophia Richie slicked-back bun tutorial is on Instagram.
All of them have professional hairstylists with professional products, time and a bunch of industry secrets to keep the hair intact. So what does the everyday fashionista do to get perfectly slicked-back hair like this?
A Few Hacks To Make The Effortless Bun Truly Effortless
The biggest problem with a bun like this is the bumps in the front but honestly, no one said you have to pull back all your hair in one go. In an old TikTok video, Chris Appleton (celebrity hairstylist to the Kardashians and JLo) starts by separating the front of the hair into two parts. “That’s the secret that no one does,” he says.
Clip up the front parts and then saturate the roots of your hair. He uses a hairspray but I recommend using a hair tonic/serum so it doesn’t destroy your roots.
Pull the rest of your hair into a tight ponytail – instead of a thing elastic rubber band, use your favourite clutch or a big scrunchie. It adds a pop of colour and is significantly easier to use than those rubber bands that snap all the time.
Take off the clip and clean up the middle parting. If you struggle with flyaways, or if oils/serums don’t keep things in place – you can either use a wax stick or some gel to keep everything in place. These are much easier to use than hairspray.
Once that’s done, add the front parts to your ponytail. Don’t pull upwards like you normally do while making a bun – instead angle your hair in the direction of your cheekbones. Basically, pull back the hair in a slightly slanted direction and use the same scrunchie to gather your hair and make a bun.
And there you have it, a relatively simple hairstyle that looks as sophisticated as it gets. Proof that the best fashion statements are usually the simplest ones.
Featured Image: Instagram


