While some people can apply winged liner without so much as a second glance and others can dye their hair all the shades of the rainbow by themselves, I am a total beauty noob. I have just about aced a few go-to eyeshadow looks that I kind of make do with every outfit I wear. But the great thing about this lockdown has been that I’ve used this time to improve my makeup application skills (productive, I know)!
I’m happy to announce that I’ve now aced cream eyeshadows too and I’m here to share some helpful gyaan that may come in handy.
The Basics On Cream Eyeshadows
Cream eyeshadows have a super soft and as the name aptly suggests, creamy texture as compared to the dry-pressed powder shadows. They usually come in stick forms or pan shadows or even pencils and have certain oils mixed in them to give them that creamy consistency. The give this dewy, hydrated look and also blend to completely sheer for a day-time look or a full-on bold eye for a night time glam!
However, they don’t stay on your skin for too long because heat and oils from the skin can break the shadow, leading to creasing or transfer. And if you aren’t used to playing around with them, they can seem a bit daunting. Lucky for you, we’ve got some tried and tested hacks to make applying cream shadows easier.
Step One: Prep Your Lids
This is one of the most important steps when you apply any eyeshadow and most people tend to skip over it. Have you seen the difference in your face makeup when you apply primer and when you directly apply foundation? Well, it’s the same thing. Priming your lids becomes far more important when it comes to cream formulas because otherwise, they tend to slip and crease.
It holds excess oils on lids at bay and also acts as a gap between the lid and shadow making it last longer and not melt away into the skin.
Step Two: Don’t Be Afraid To Use Your Fingers
Does anyone else come out with shades and streaks of all colours on the back of their hands once they are done with their makeup? Well, we’re all about getting down and dirty, amirite? With cream shadows fingers work the best. After you’ve got the pigment on you can use a rounded brush to blend another colour or a flat, synthetic, concealer brush to pack on more shadow.
Another tip to note is to layer the shadows slowly and take time between the application. Some pigments may crack if applied too much.
Step Three: Blend The Cream Shadow With A Powder One
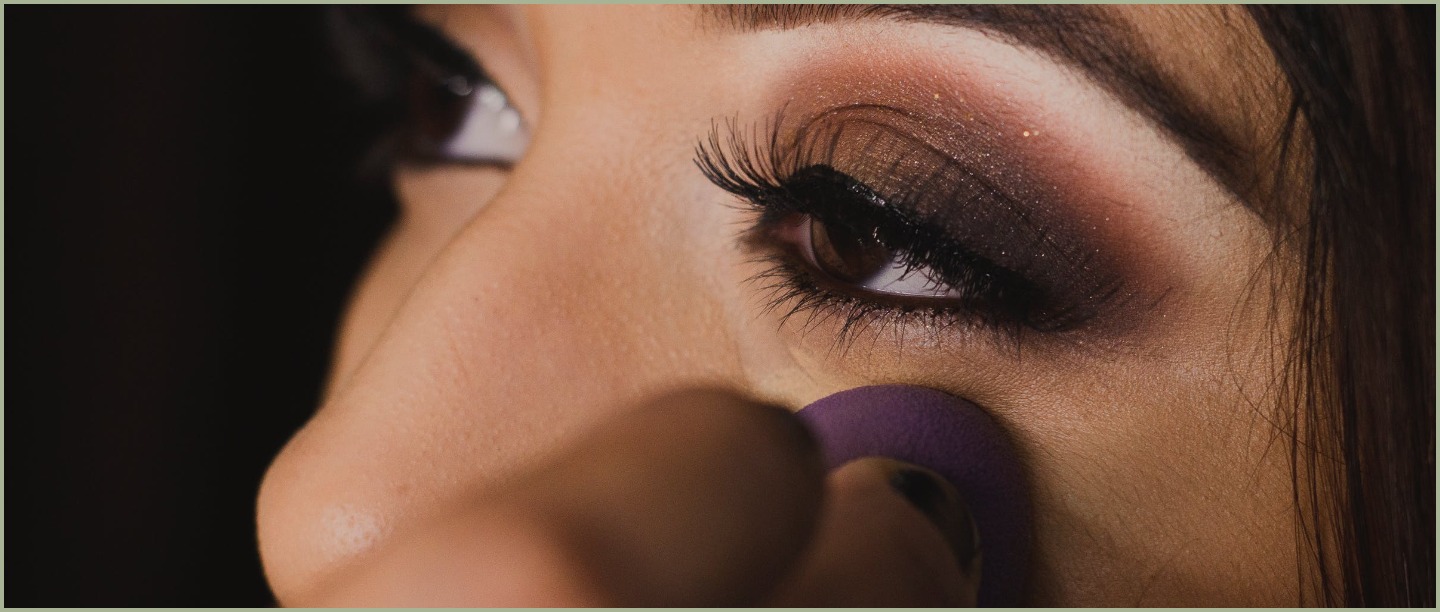
If you’re looking for a simple washed-out look then you can skip this step but if you aren’t going with the whole shebang then you can create a smoky eye using powder eyeshadow. Create dimension and depth using browns, deep pinks, and orange tones for a warm eye and purple and blue shades to a cool eye look. Not just this, powder eyeshadows will set the cream ones to avoid them from transferring. If you want to maintain the dewy look, a translucent powder works wonders to set the shadow.
Cream shadows dry fast and so give you less time to work with them so we suggest that you use powder shadows in your crease as well as the highlighter shade. When working with these it’s best if you apply cream shadow on one eye at a time to avoid cracks and splotches.
Step Four: Don’t Forget The Lashline
This too is an optional step but if you want to add drama to the makeup look then you can use your ring finger or a dense shadow brush to swipe cream eyeshadow along the lower lashline and into the inner corner of the eye. This gives a more complete feel to the look.
So c’mon, let’s get blending!
Featured Image: Pexels