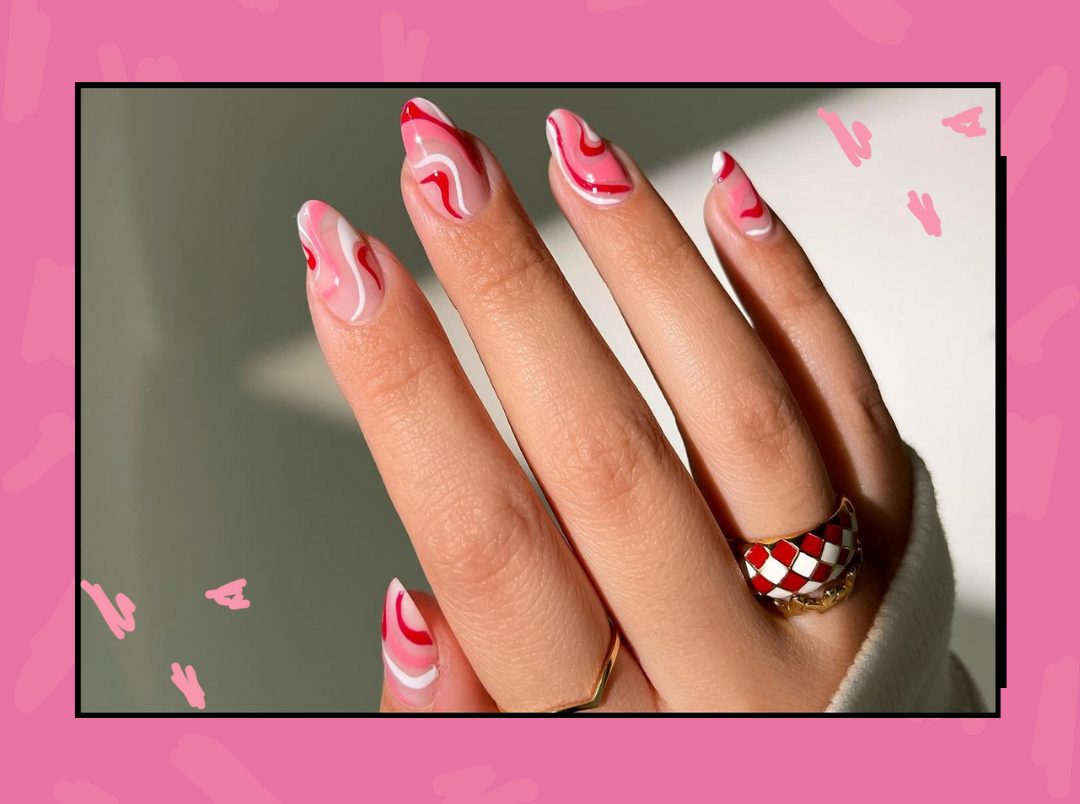
There’s nothing we love more than a freshly done glossy manicure – it just makes us feel super glam. But for those who don’t have the perfect nails, there are those god-send acrylic nails. Acrylics have been dominating the nail verse, and we’re SO here for it – we could literally scroll through snaps of bedazzled acrylics for hours, yes we’re #guilty. They look so dope, plus they give us the freedom to play with all the different nail styles and shapes.
While there are quite a few perks to fake nails, there are some downsides as well! Acrylic manicures look freakin’ gorg, and our nails look amazing until the dreaded 2-week mark hits – when the chipping start to show, the cuticles start to grow, and the shine starts fading. Then, the only solution we are left with is to remove it and start over. TBH, it’s best to get them professionally taken off, but going to the salon isn’t always an option. But don’t you fret, as we’ve curated a fool-proof guide to removing acrylic manicures safely from the comfort of your couch.
PS: It doesn’t involve scrapping and pulling.
The Ultimate Guide To Removing Acrylic Nails At Home
Step 1: Trim Your Nails
Trim your nails to the shortest length possible. File them using long strokes. Keep filing till you feel you have reached your actual nail bed. If you notice some of it still remaining on your nails, take a cuticle nipper and pry open the edges and clip it. Make sure to clip only small pieces at a time and do not try to pry open too much.
Step 2: Apply Petroleum Jelly On Skin
Next, apply a generous amount of petroleum jelly to the skin surrounding your cuticles. This will protect them from dryness that acetone can cause.
Step 3: Soak ‘Em Cotton Balls In Acetone
Next, this step involves wrapping your nails in acetone-soaked cotton balls. Cut a foil in squares – enough to wrap around your finger, and then place the soaked cotton ball on the nail plate and tightly wrap with foil so that it stays in place. You can cover your hands with a hot towel as heat speeds up removal.
Step 4: Remove The Foils
Usually, 15 minutes is the average time you need to keep it on, but the time varies depending on the formula. Check if the acrylic nails have gone soft – you should be able to pull them out gently. If you feel resistance, do not yank – just soak them for longer. When the remover has done its job, make sure you don’t pull the foils off in a rush. Instead, gently grip the wrap, apply slight pressure, and slide it off the nail. Once the wraps are removed, you can easily tell what areas need more attention. If there are areas with chunks of colour left, it’s best to wrap the nail again and wait for a little longer.
Step 5: File ‘Em
After removing the wrap, get to filling again. Use an orange stick to help get the excess polish off the nails. You can also use a nail file and remove the acrylic nail only in the direction that it is rolling off in. File each nail until the acrylic is all removed.
Step 6: Finally, Nourish It
It’s time to give your nail the much-needed TLC it deserves. It is extremely important to nourish your cuticles and nails once you’re done with the process. The process can be harsh and drying as compared to your average remover which makes it all the more important to wash your hands and treat your nails and cuticles with oil to keep them healthy and hydrated.
It’s time to say goodbye to chipped and lifted nails!
Featured Image: Instagram