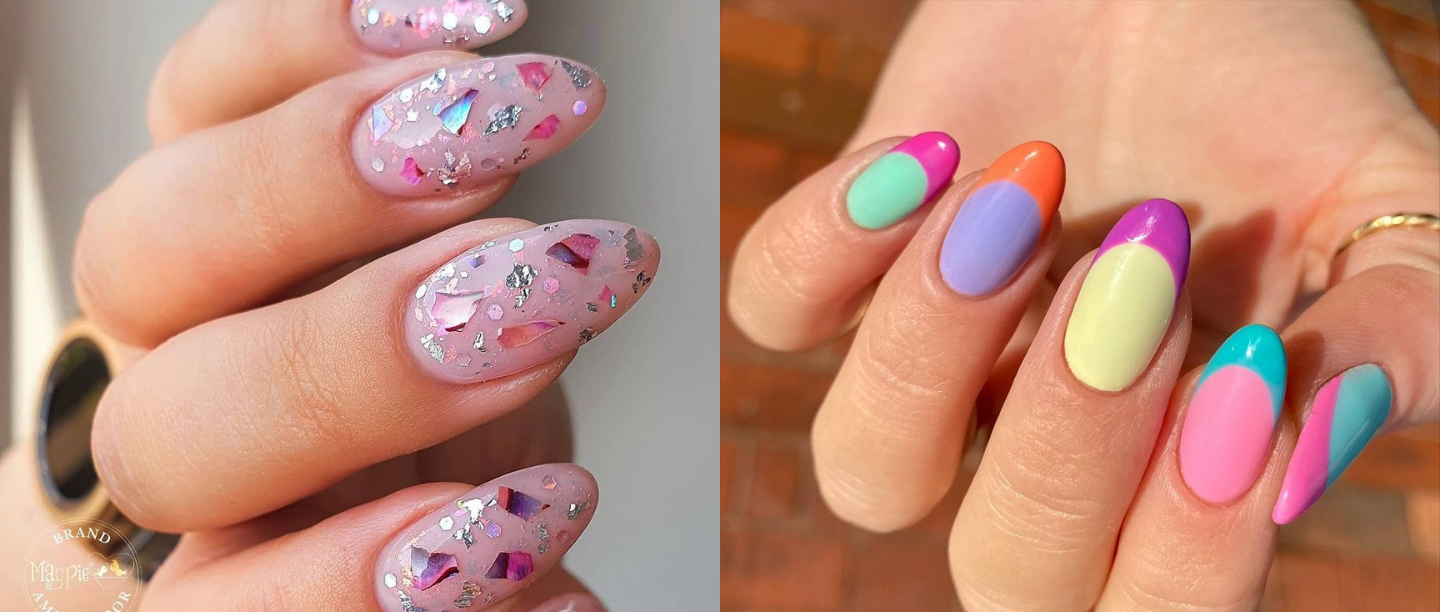
‘Coz life’s too short to sport naked nails!
Stepping out of a nail salon with freshly done nails always makes us feel put-together and powerful, right? Whether it’s getting a basic mani or nail extensions, we all love to flaunt ’em pretty claws.
Of course, we cannot book an appointment currently due to the virus spreading like crazy but we can still make our nails pop with some amazing DIY nail art. And that’s exactly what we’re showing you how to do today.
Easy DIY Nail Art Designs
Cool Blues

This design may look a little intimidating but trust us, you’ll be able to master the marble art in no time.
You’ll Need:
- Blue nail polish
- While nail polish
- Nail tip stickers
- Scotch tape
- Toothpick
- Bowl of water
- Topcoat
Step 1: In a bowl, pour a few drops of both blue and white nail polishes.
Step 2: Use a toothpick to draw wavy patterns, just dip it in the water and start moving it around.
Step 3: Now you’ll have to dip your nails. In order to avoid a pretty mess, cover the first half of your fingers, minus the nails.
Step 4: Stick one nail sticker on each hand, diving the nail into two parts.
Step 5: Finally, dip your nails in the cool marble design and you’ll notice the design sticking to your nails immediately.
Step 6: Wait for a few minutes for your nails to dry completely and then peel off the tape and the sticker.
Step 7: Seal the deal with a topcoat and your nails are cool for the summer.
It’s Confetti Time

This nail art is so fun to do. But keep caution as it will remind you of the good ol’ partying days!
You’ll Need:
- Nail polish shade of your choice
- A pair of scissors
- Colourful foil sheets
- Tweezers
- Glitter nail polish
Step 1: Before starting out, cut the tiniest triangles you can use the foil sheets. You can either go for metallic ones or even neon. Just make sure that they are super thin.
Step 2: Apply two coats of your fave nail polish. Make sure you use a shade that will look great with the choice of the sheets.
Step 3: Using tweezers, place the tiny bits of the foil sheets on your nails. Make sure you use them one by one. Be patient and so it super slowly.
Step 4: You can either apply the topcoat to seal the deal or add some fun to the confetti party by applying the thinnest coat of glitter polish.
Here’s A Gold(en) Tip

We bet you’ve seen this boujee nail design everywhere on the ‘Gram. Well, it’s time you try it too.
You’ll Need:
- Gold nail paint
- Nail tip stickers
- Topcoat
Step 1: Apply the nail tip stickers to your nails to avoid painting all over them.
Step 2: Take the fanciest gold polish you can find and apply it over your nail tips. Repeat same for all your nails
Step 3: Wait for a few minutes for them to dry down and then slowly, peel of the stickers.
Step 4: Don’t forget to seal the deal.
(Don’t) Cross The Line

Doesn’t this nail art remind you of those Insta famous criss-cross tops?
You’ll Need:
- White nail paint
- Black liquid eyeliner
- Topcoat
Step 1: Take your white nail polish and dab it on the end of the nail. Try forming a tiny semi-circle. If you mess it up, you can use a nail filer to remove the excess.
Step 2: Once your white dots are all dried up, take a black liquid eyeliner and draw a cross, touching the white semi-circle.
Step 3: Repeat this for all the nails and wait for about 5 minutes before applying topcoat.
Let Me Take You To A Candy Shop

Gigi Hadid recently sported a similar set on nails and oh boy, everyone wants to copy them now. Good for you, we’re telling you how.
You’ll Need:
- A set of the most colourful nail polishes you can find
- Nail tip stickers
- Topcoat
Step 1: Take any candy-inspired nail polish, say pink, and apply two coats all over your nails, leaving the tips.
Step 2: After your pink nail paint had dried down properly, stick on the nail sticker and apply a contrasting colour on your tips, say yellow.
Step 3: Repeat the same for all nails and voila, your nails are summer-ready.
Which one of these DIY nail art is calling out your name first?
Featured Image: Instagram
Also Read: Nail Art Designs


