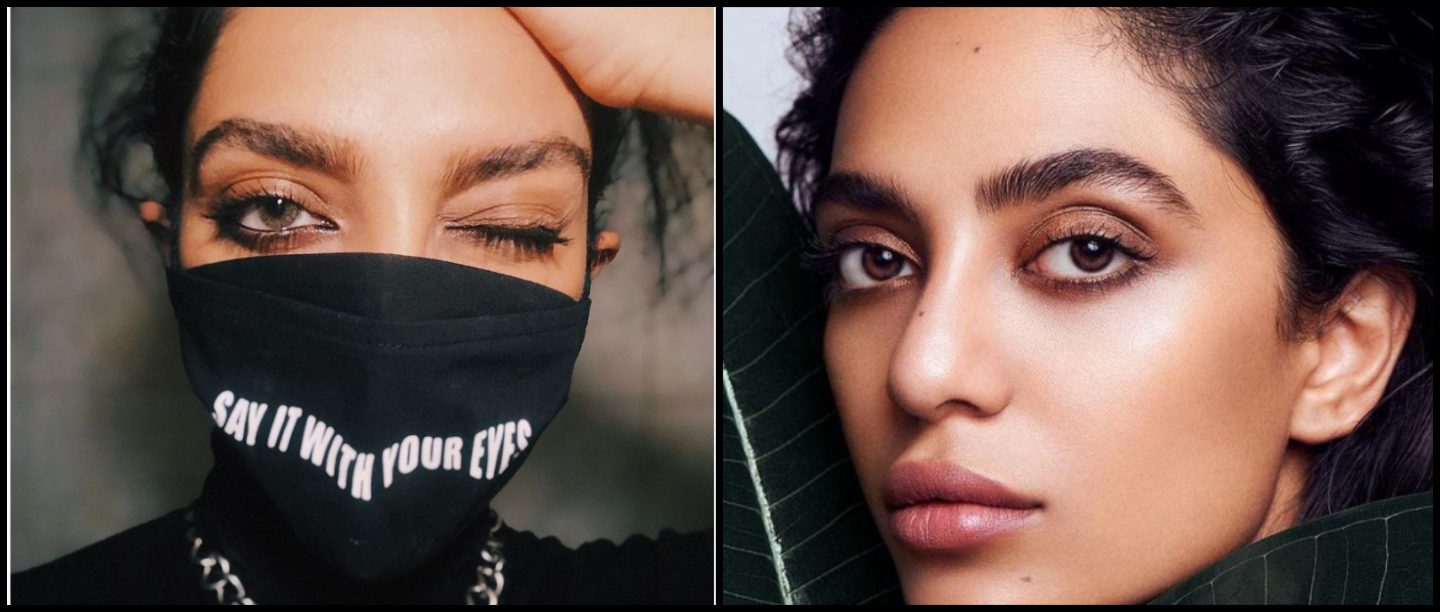
There are so many ways to style and shape our brows. But letting any professional come close to your face with a pair of tweezers is simply not on the cards right now. And we are not sure if it ever will be again. This means, by the time the zillion-day-long lockdown is lifted, our brows would be bushy and unruly AF!
So the journey to getting the perfect eyebrows is going to look a little different for everyone. We totally understand that it can feel overwhelming as removing a single hair from the wrong place can throw off your symmetry. That said, there are some general tips, tricks, and hacks you can try out to craft the most perfect brows while at home.
The Step-By-Step Guide To Ace Well-Groomed, Brows At Home
Trust us, it doesn’t take much to keep your unruly brow hair at bay.
Step 1: Brush Them Up
First thing’s first, you need to figure out what you’re working with. Run the spoolie through clean, dry brows, brushing the hair up. This will show you if there are any super-long hair.
Step 2: Trim Them A Little
Here’s a fool-proof technique to master this – Taks a spoolie brush in one hand, and the scissors in the other. Push the spoolie through the brows to drag the hair up. This will help you see the ones that are too long and easily cut them without going over board. Trim the front area of the brow, one hair at a time at a downward angle. The downward angle is important here, because you want your brows to be fringy, not in a straight line. Remember, length isn’t bad. Actually, it’s necessary sometimes to style it in a perfect shape. You can just trim a few hair only the ones that are not cooperating.
Pro tip: If you’re skeptical, run a little bit of gel through your hair first and shape it the way you like. This is an easy way to identify exactly what to trim. Then wipe it off before you proceed to the next step.
Step 3: Check Your Alignment & Tweeze Away Strays
The only thing you need to figure out where the brow should start, arch, and end are your tweezers. Pinch your tweezers together till it makes a straight line that will help you know the perimeter of your brows. First, hold it against the bridge of your nose. The vertical line shows where your brow should start. Once you’ve used them to identify, it’s time to remove the hair that’s out of place. This doesn’t mean to pull off all sprouts that hang over the other side of the line. This might be the time to get those scissors out again and use them to do a little bit more trimming.
Step 4: Ace That Arch
Next, we’re going to use tweezers to make sure the top and bottom of the front of your brows align. The front of your brows really makes an impression and determines how the brows looks—if they are a little wonky in the front, it looks cooked. So place one end of your tweezers at the tip of your nose, slanting them diagonally towards the corner of your eye. This line will show you where the tail of your brow should end. Avoid having brows on the temple because it will drag your eye down. Hold the skin tight–start with the brow that has a less pronounced arch and work toward having it mirror the other brow. Finally, take a step back and look at your brows. If there’s anything that seems way out of place, remove it.
Pro Tip: A big mistake many of us typically make is tweezing an arch at the center of our brow. Experts recommend making an arch at 2/3rd length of the brows and it should be where you want to selectively reveal a part of the brow bone.
Step 5: A Quick Shave
Whip up that face razor, hold the skin tight, and work the blade across the temple and forehead. It’s also great for the upper lip. Getting rid of this peach fuzz will really help your brows pop.
Step 6: Fill It Up
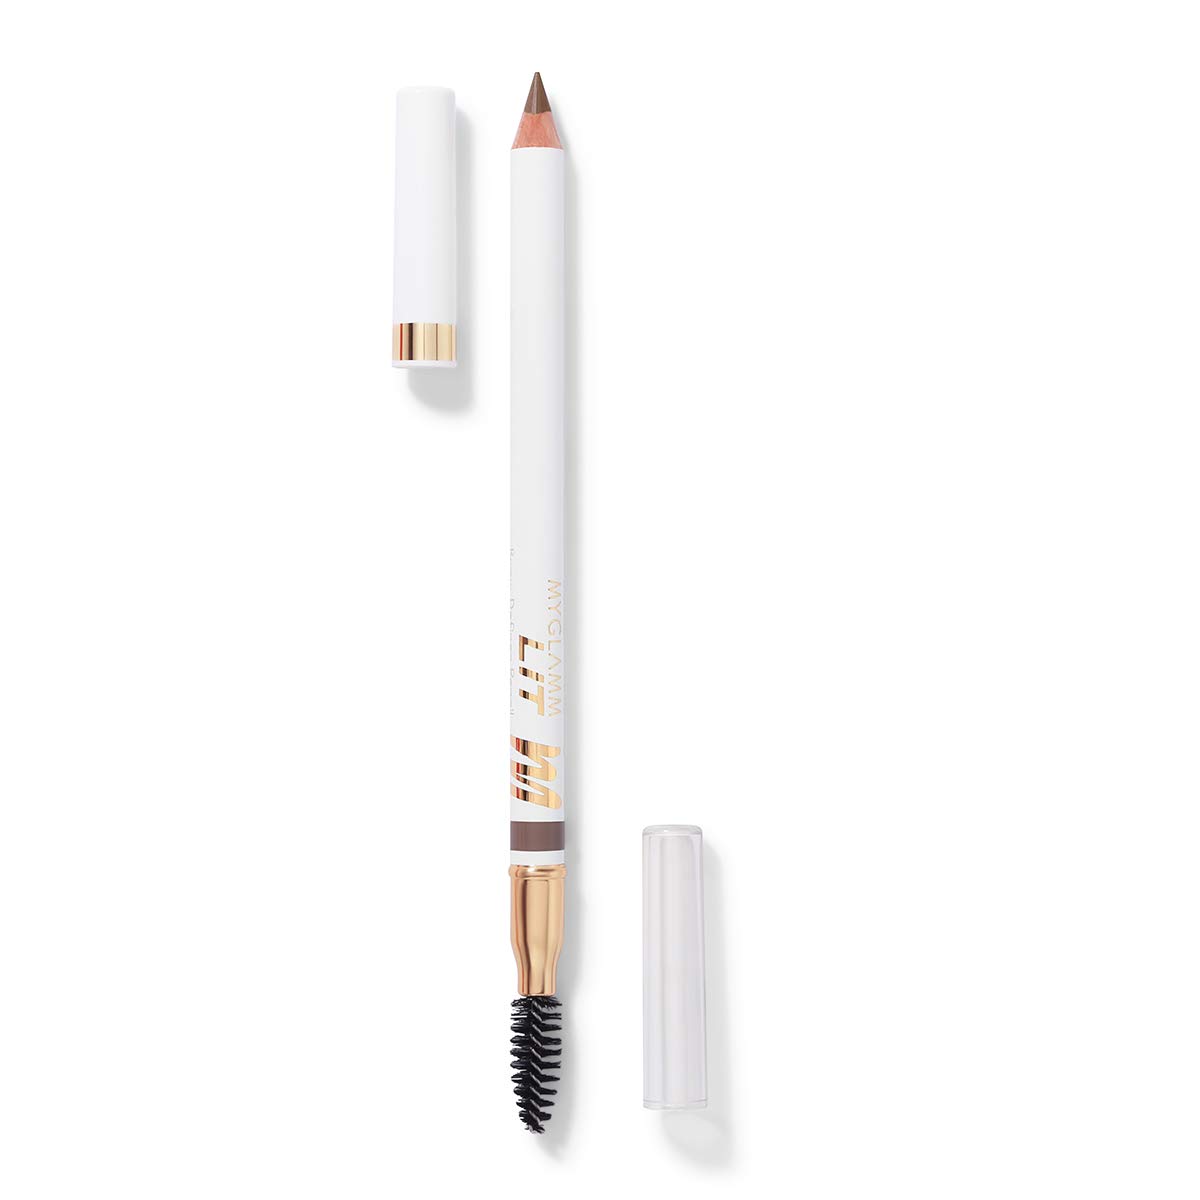
Pull out your favorite brow-enhancing product and fill in your brows in the shape you like. Placing the colour in the desired shape will show you if you missed any stray hair. Remove those hair, and that’s it, you finally have the full picture.
Make your brow game strong while at home with these hacks!
Also Read: Types of eyebrow shapes
Featured Image: Instagram


