With the party season right around the corner, who doesn’t want to look their best? From outfits to hairdos, you’ve got it all sorted, right? One thing you cannot miss is a perfect make-up look, ladies! Sculpted cheekbones and bold lips are all the rage this fall, so you definitely need to flaunt that look. But what about your eyes? You know those late nights are going to take a toll on your under-eye area. Follow this step-by-step process to cover dark circles completely for that gorgeous look. We got your back!
Step 1: Preparation Is Key
Preparing your base is an essential part when it comes to make-up. Similarly, before you begin with your under-eye make-up, we suggest you reduce any redness or puffiness. Use a brightening eye cream or corrective eye cream with your ring finger to avoid pressure. Make sure you apply the cream 10-15 minutes before you start your make-up.
Pro tip: If you can’t find the product or have run out, just stick a couple spoons in the freezer for about 10 mins and then use them on your eyes and the under-eye area to soothe puffiness.
Products you can use:

Garnier Skin Natural White Complete Eye Roll On (Rs 199)

Clinique All About Eyes (Rs 2,662)
Step 2: Colour Correcting Is Essential.
If you’re about to apply a concealer after step 1, just hold it, ladies! Before you even think of concealing the dark circles, you need to neutralize the darkness first. If your circles are brown, use a shade of orange to correct your under-eye area. Salmon goes best with cooler skin tones. Here’s everything you need to about colour-correcting like a pro! If you’re the lucky one with no dark circles, you can skip this step.
Pro tip: Seen beauty gurus using red lipstick as a corrector? Yes, that works in a pinch. Just make sure you use a smudge and don’t go overboard with it. BLEND really well, you don’t want red splotches.
Get these fab colour-correcting products:

NYX Professional Makeup Conceal, Correct, Contour Palette – Color Correcting Concealer (Rs 1,325)

L.A. Girl Pro Conceal HD (Orange, Green & Yellow Corrector) (Rs 1,482)
Step 3: Conceal It Like A Pro!
Now you can pick up your concealer and get down to it. Make sure you go on slowly and not go overboard with the amount of concealer used. Using too much of the product can give a cakey texture and might settle into the fine lines. Use a concealer brush or a sponge to blend the product properly.
Pro tip: If you have deep set eyes or a hollow under-eye area, use a concealer that is a shade lighter to make your under-eye area look brighter and give it an illusion of being supple.
There’s no dearth of shades in these brands:

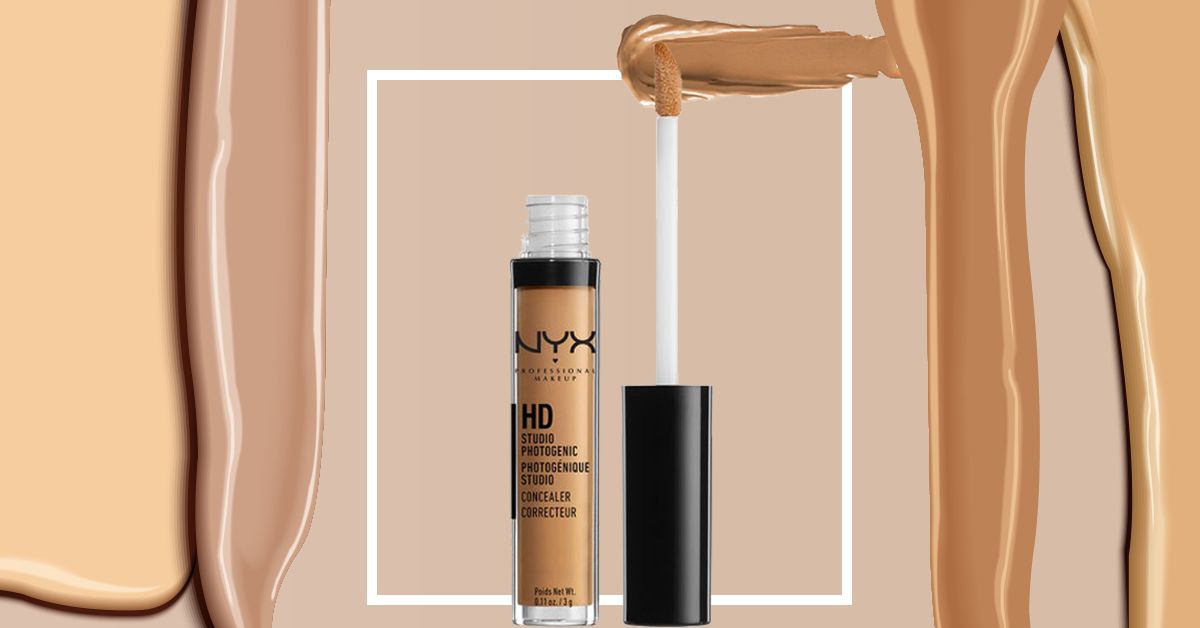
NYX Professional Makeup HD Photogenic Concealer Wand (Rs 525)

M.A.C Studio Finish SPF 35 Concealer (Rs 1,850)
Step 4: Set it With a Loose Powder
You’ve prepped your skin, primed and concealed it. Now it’s time for you to set it with the help of a loose powder. It will absorb excess oil and make your make-up last longer, too.
Pro tip: If you’ve used a liquid concealer and have a long day ahead, you might want to consider baking. Just use a heavy amount of translucent powder and leave it there for a couple of minutes and dust the excess. This ensures a poreless finish and lends your concealer a long-lasting vibe.
Products you need:

Faces Mineral Loose Powder (Rs 599)

Natio Loose Powder – Translucent (Rs 1,130)
Follow these steps and cover dark circles like a pro!


